Prerequisites
Creating timesheets assume the logged in user (employee or contractor) has the following:
- Staff member has an active login
- Staff member has Timesheets enabled in their Mobile settings
- Staff member is a member of a team that has assigned Schedule Types
The following also need to be setup before timesheet functions are available:
- Schedule Types must be created
- One of Jobs or Shifts must be available
Process
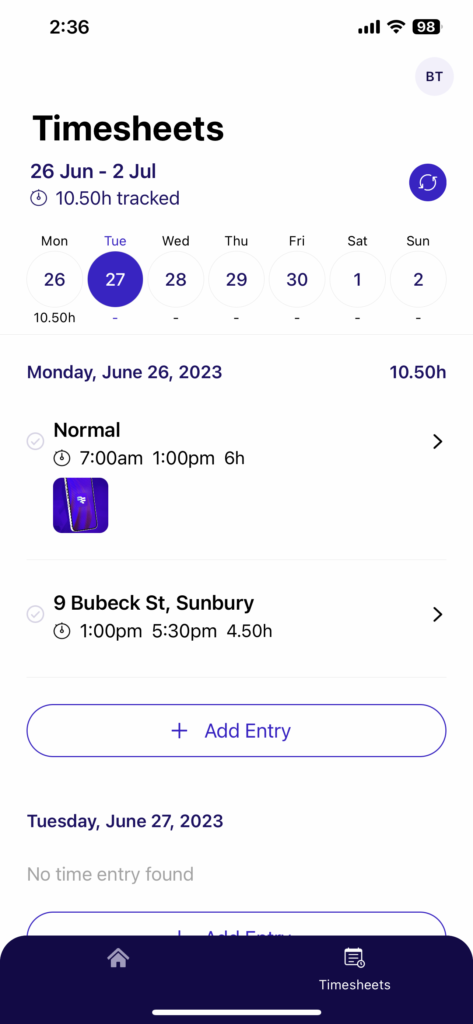
Once logged into the app, navigate to Timesheets in the bottom menu.
If the item is not available, then check the prerequisites or if the user is currently in Workflow (blue icon on the top left).

Tap on Add Entry to create a new Timesheet.
At a minimum, the required fields are:
- Start Time and End Time
- Type (Schedule Type)’
Depending on the Type chosen, there may be more required fields, which will be detailed in a different document.
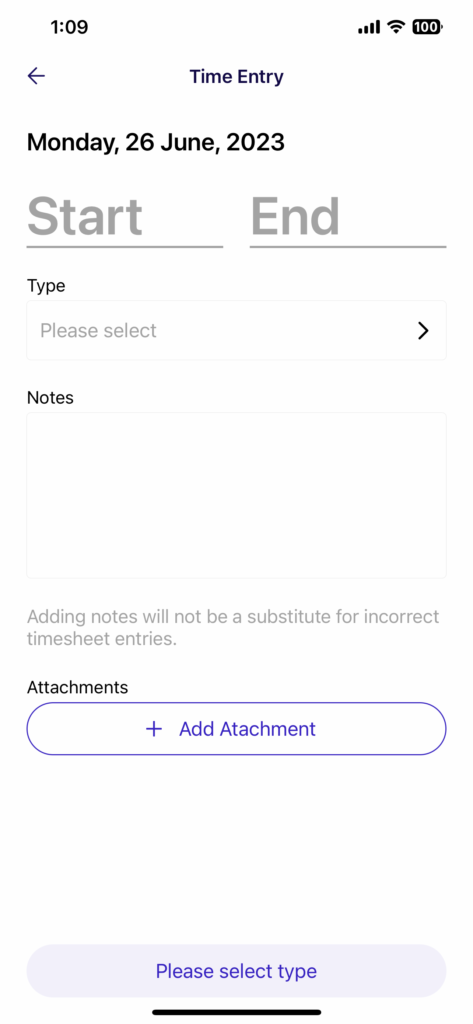
Enter in the Start Time and End Time.
Then tap on Type for Schedule Type options.
In this example account,
Normal is a standard timesheet.
Job Schedule will trigger a Job Search (assuming the staff member has “Create Timesheets with Job Search” permission turned on in their settings).

Once you have selected the Schedule Type, you can optionally enter in Notes and upload an attachment.
The attachments will open up your camera.

If you decide to select a Job Search schedule type, you will be prompted to search and select a job.
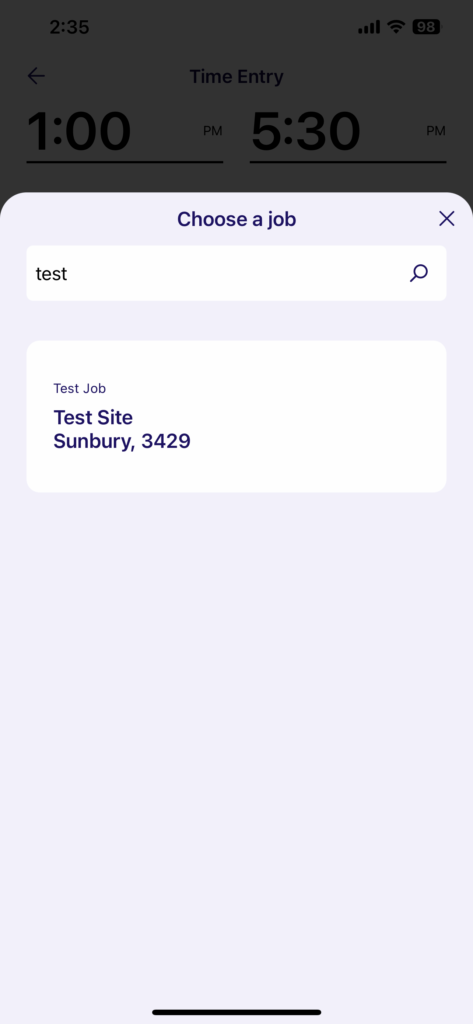
Once you select a job, you will see a Cost Centre field, however, this field is only reserved for simPRO linked jobs.
As you add timesheets, you will see them appear on your timesheet list.